

Polymer concrete drainage channel system should be classified first during the installation process, and reasonable installation should be carried out according to the cover coming with drainage channel.
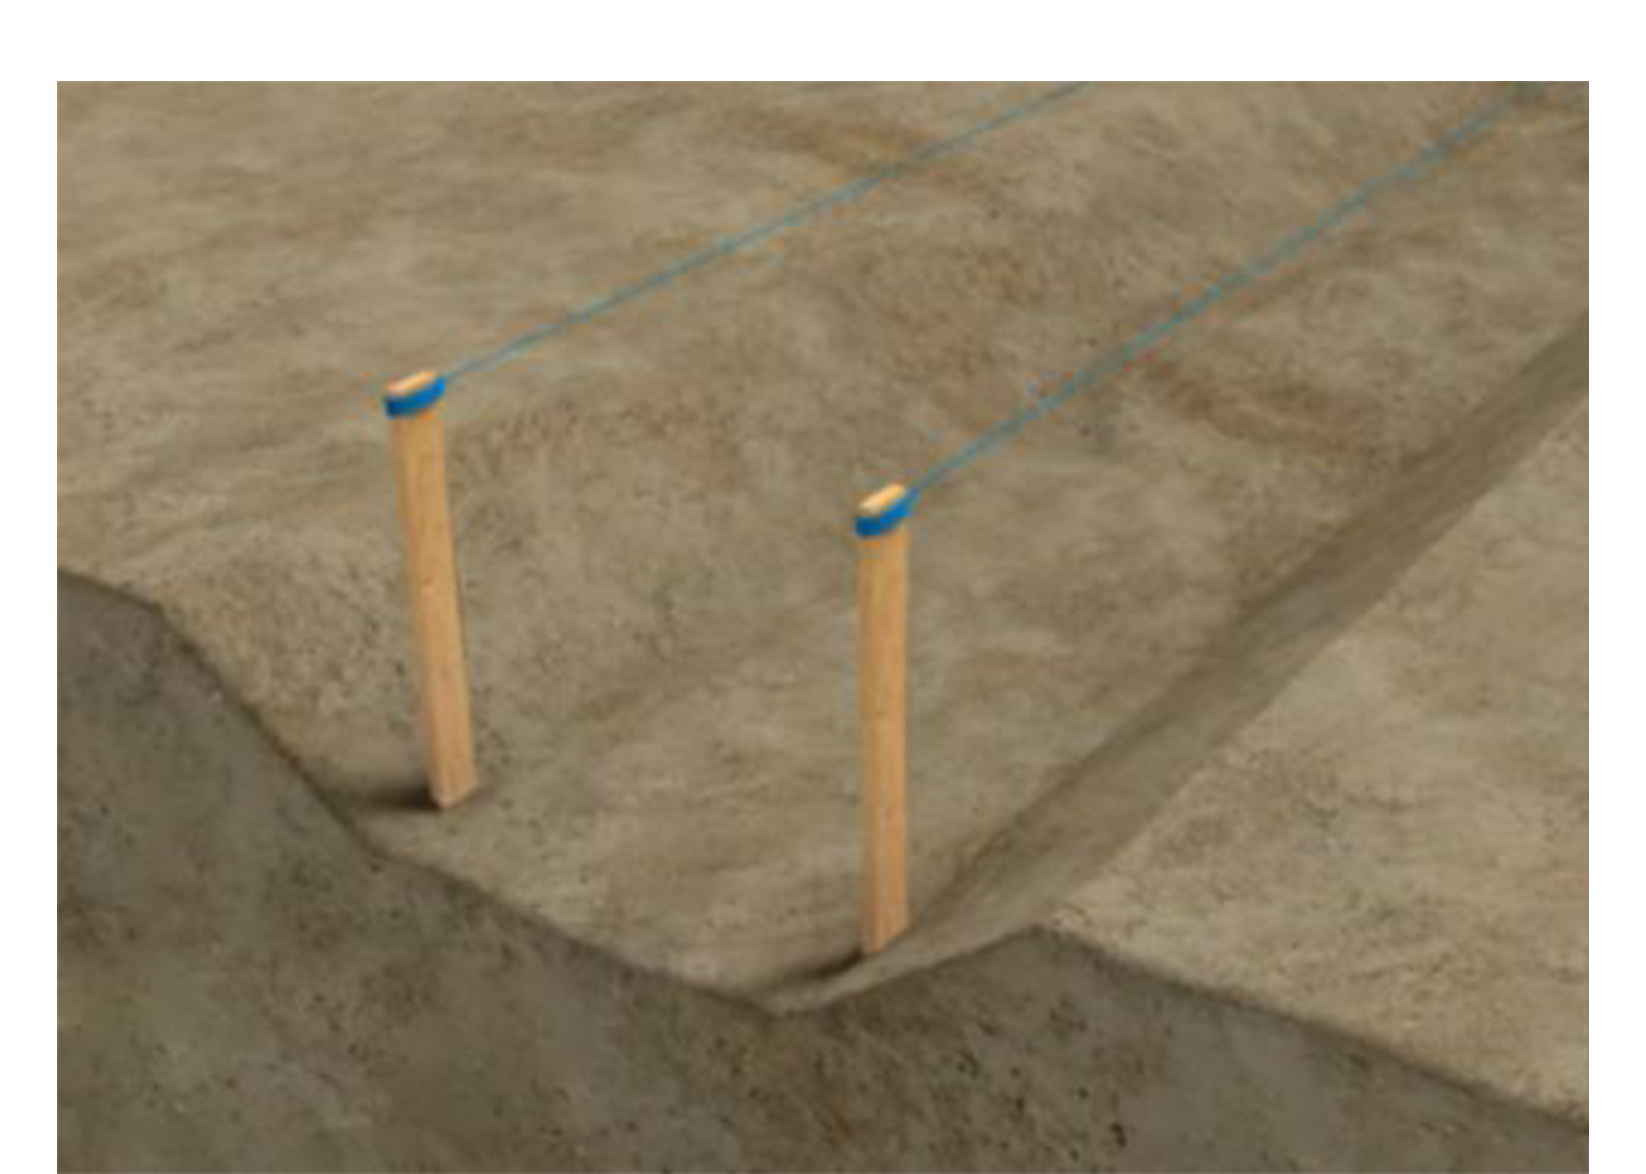
Digging the base trough
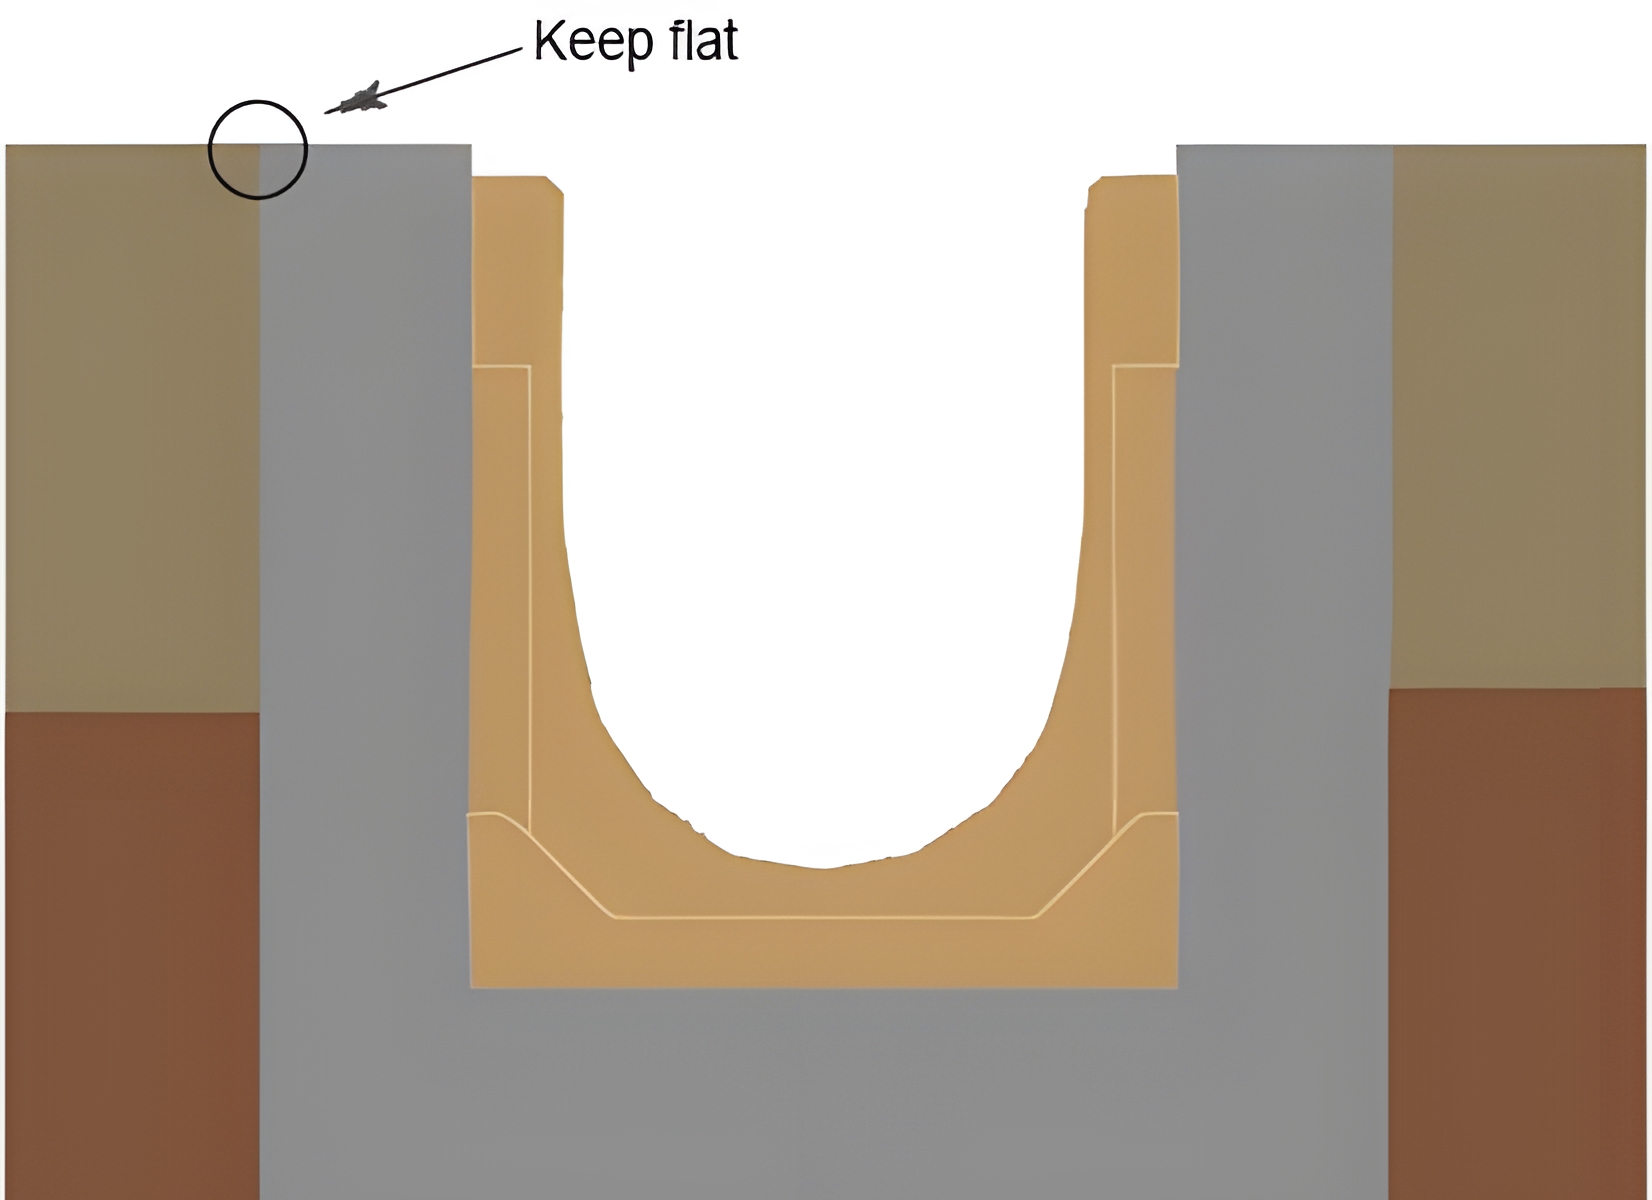
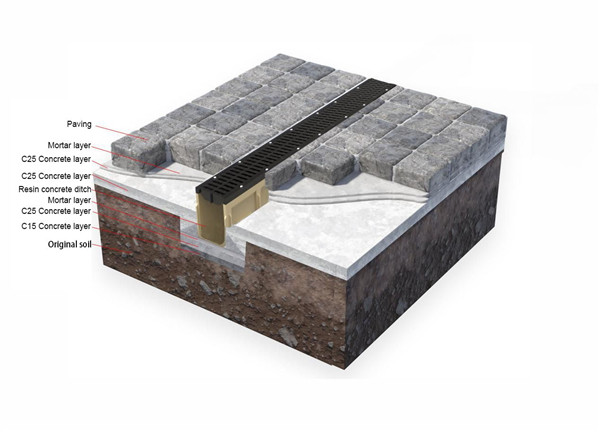
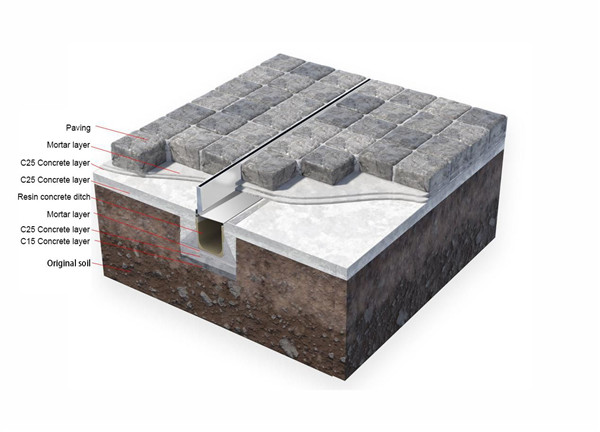
Before installation, first determine the elevation of the drainage channel installation. The size of the base trough and the size of the reinforced concrete members on both sides of the drainage trench directly affect the bearing capacity. Determine the center of the width of the base trough based on the center of the drainage channel and then mark it. Then start digging.
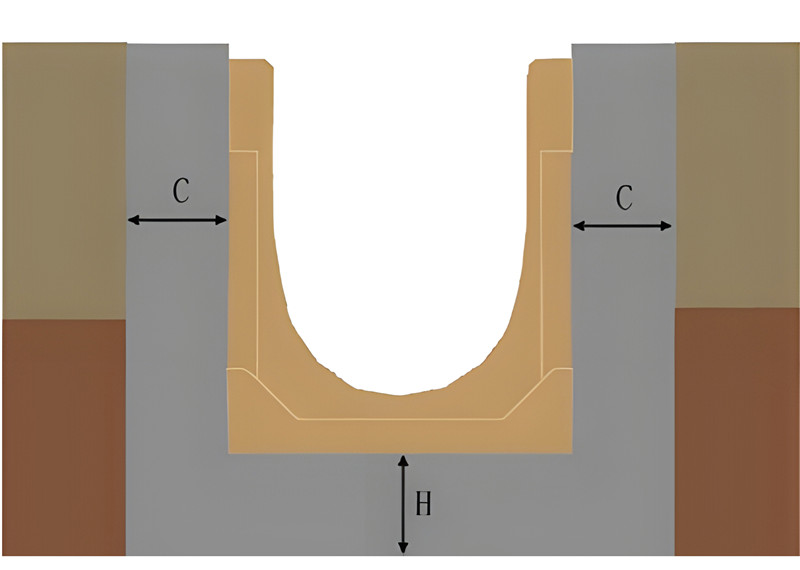
The specific reserved space size is shown in Table 1 below
Table 1
Loading class of drainage channel system Concrete grade Bottom(H)mm Left(C)mm Right(C)mm
| Loading class of drainage channel system | Concrete grade | Bottom(H)mm | Left(C)mm | Right(C)mm |
| A15 | C12/C15 | 100 | 100 | 100 |
| A15 | C25/30 | 80 | 80 | 80 |
| B125 | C25/30 | 100 | 100 | 100 |
| C250 | C25/30 | 150 | 150 | 150 |
| D400 | C25/30 | 200 | 200 | 200 |
| E600 | C25/30 | 250 | 250 | 250 |
| F900 | C25/30 | 300 | 300 | 300 |
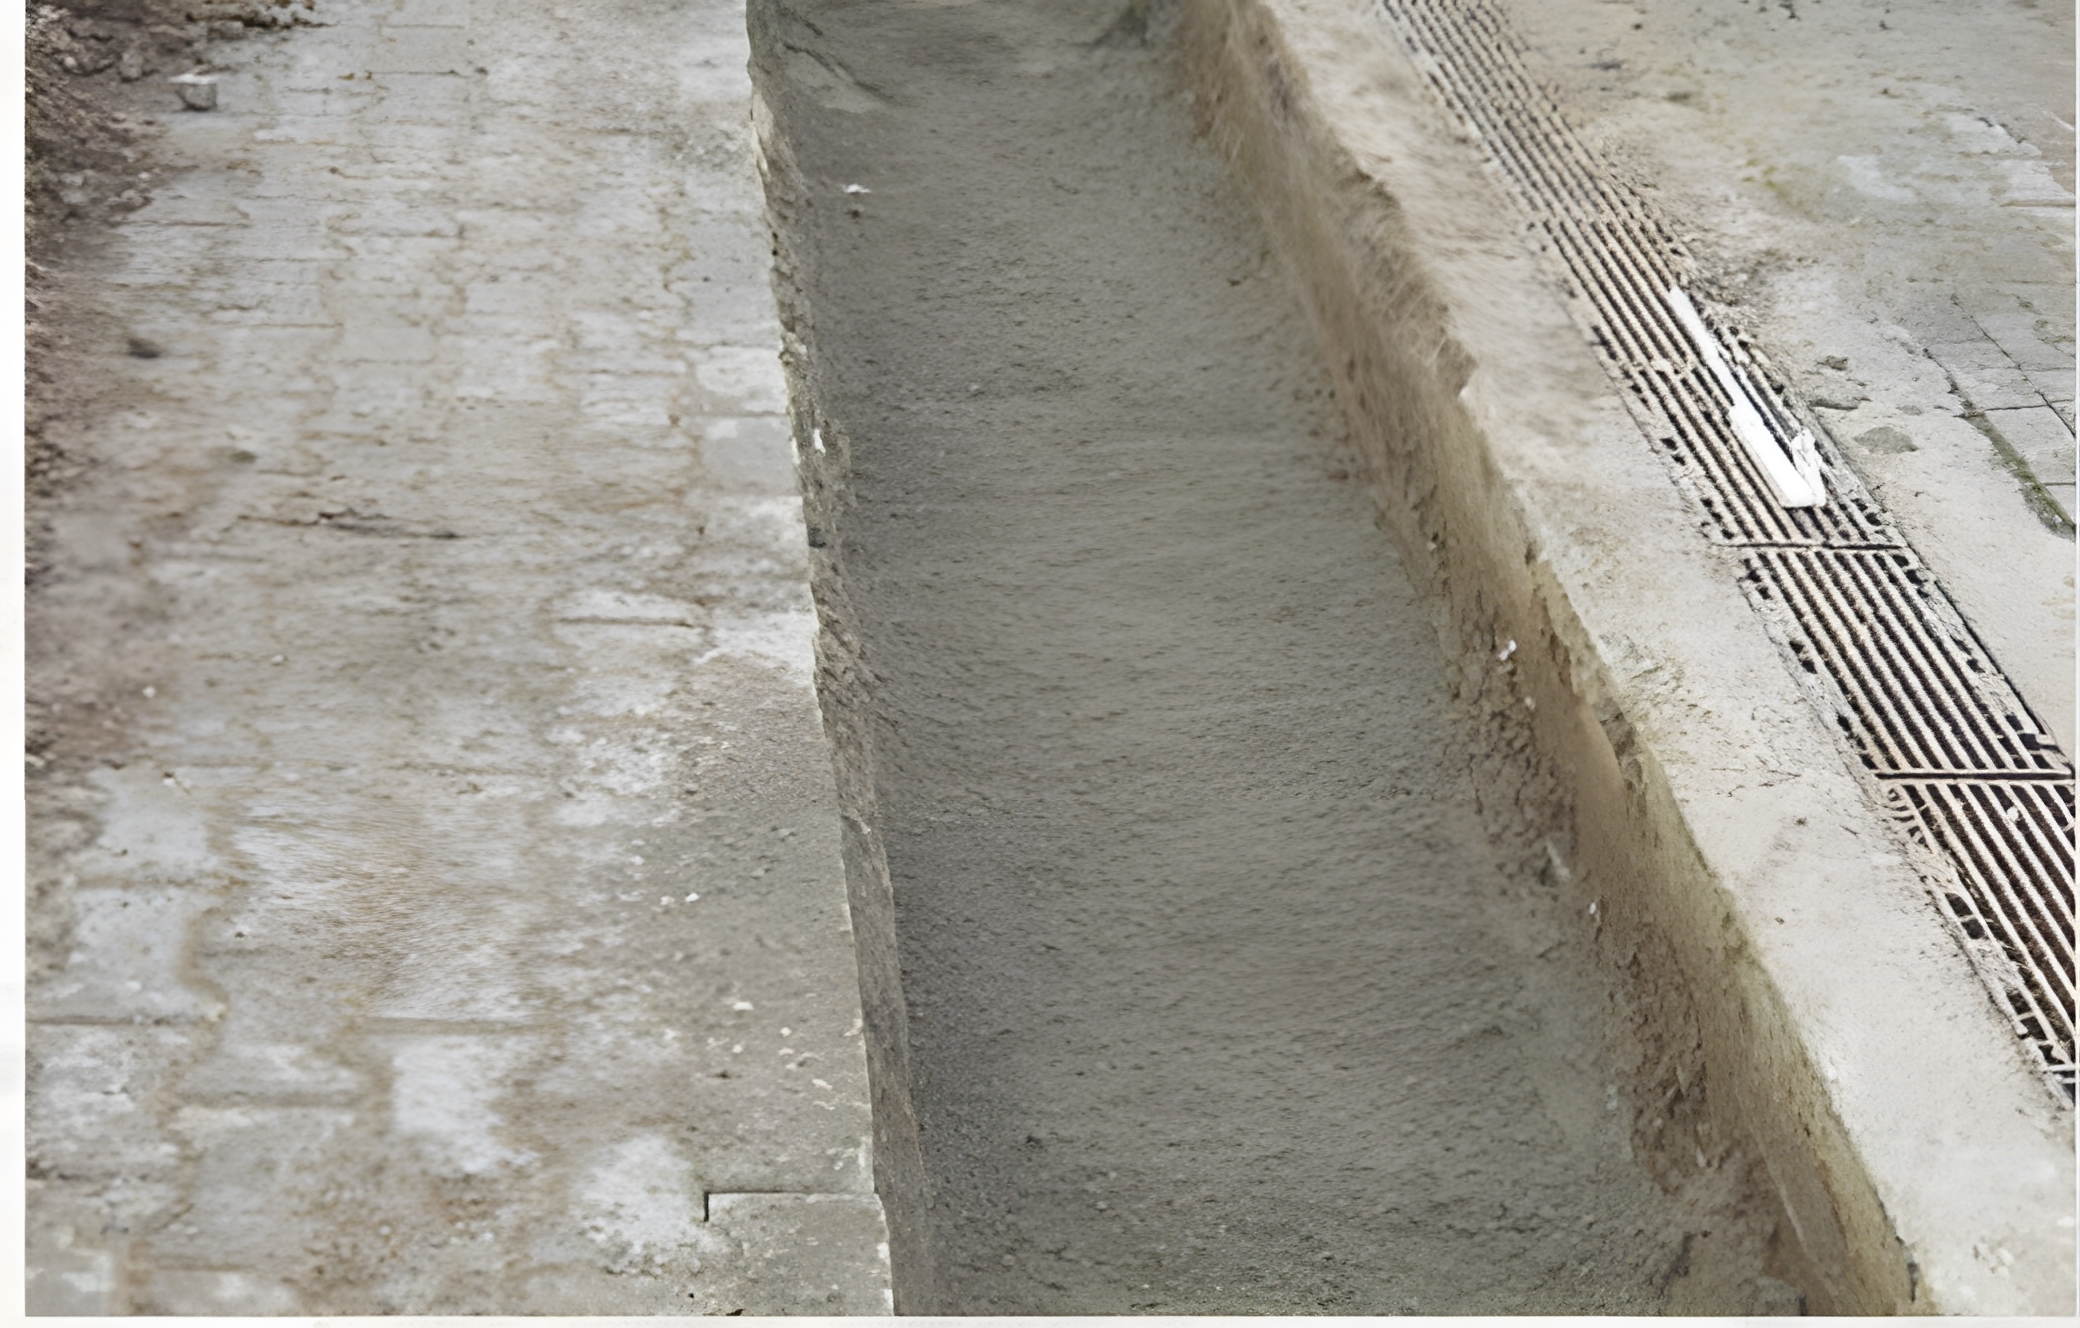
Pouring foundation trough
Pour concrete into the bottom according to the load rating of Table 1
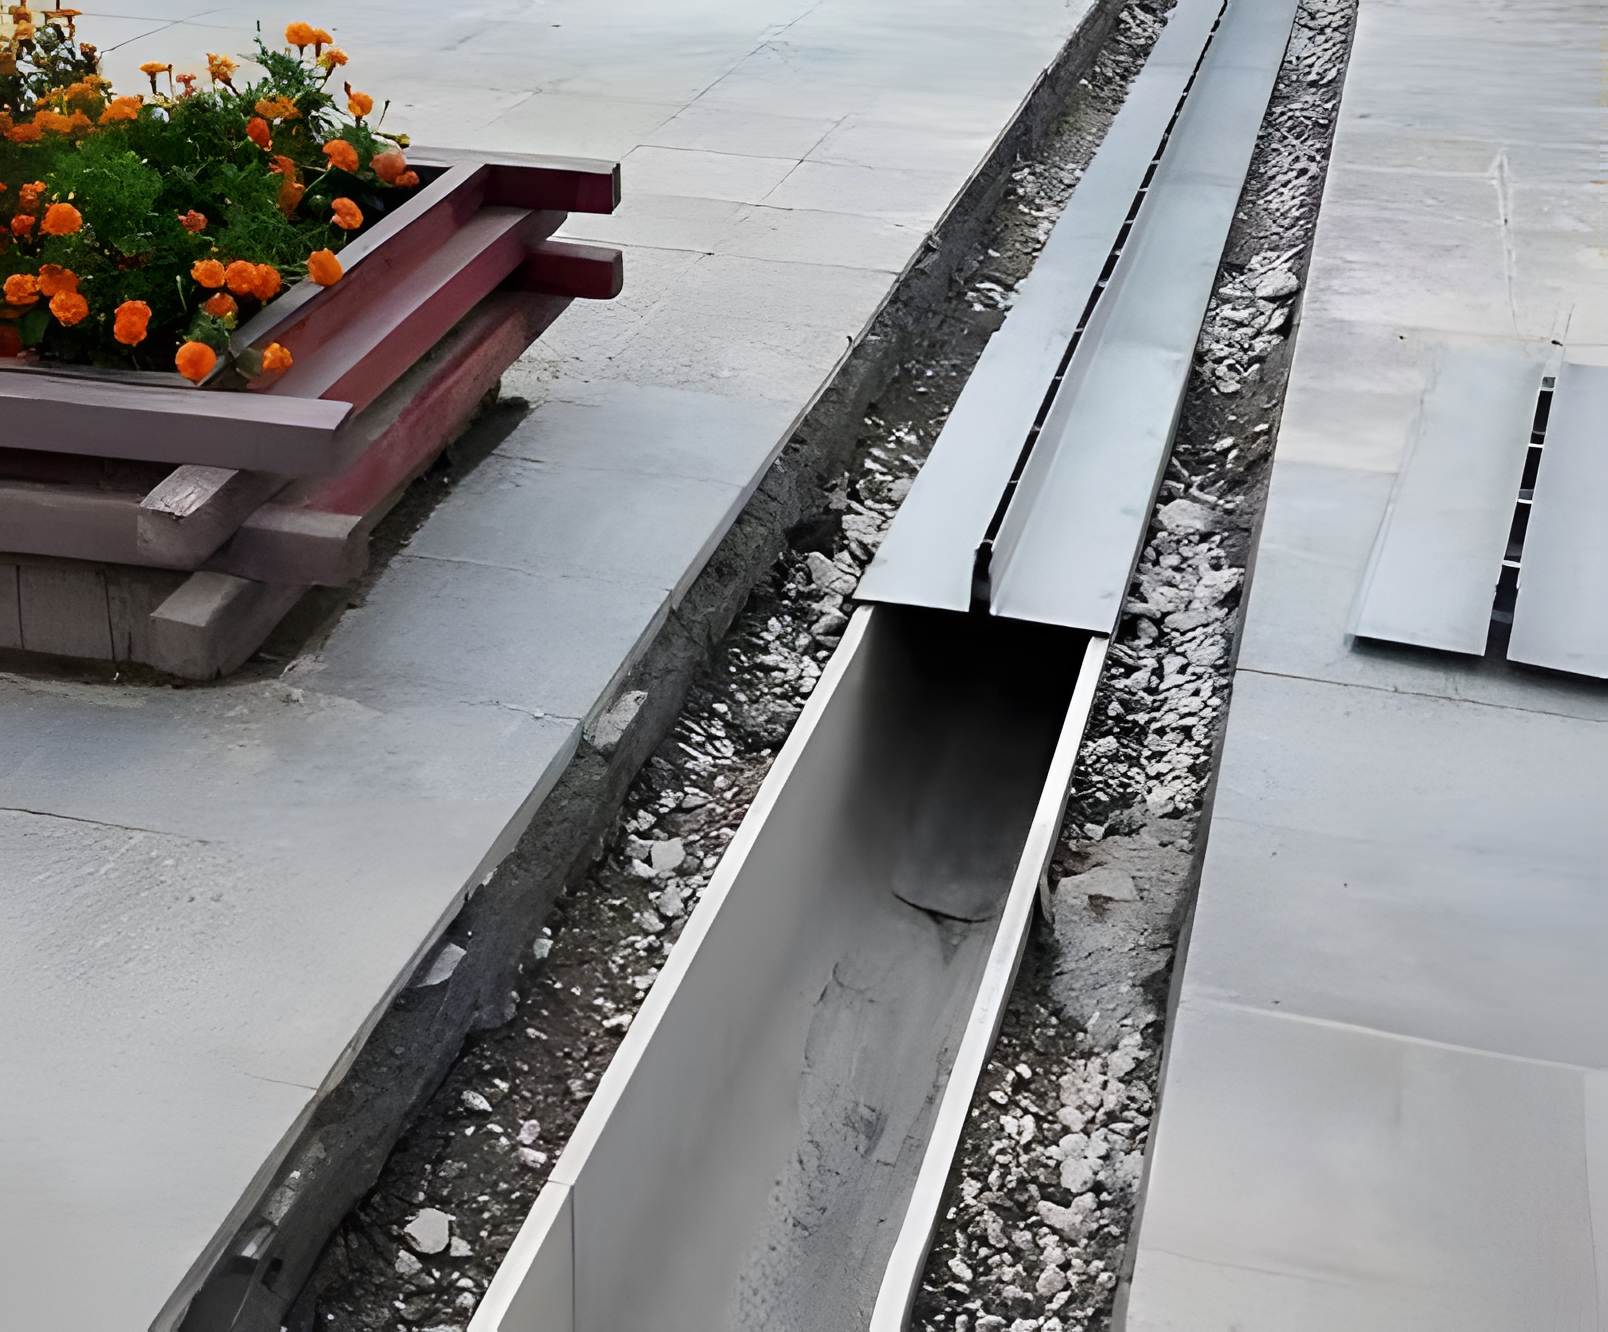
Installing drainage channel
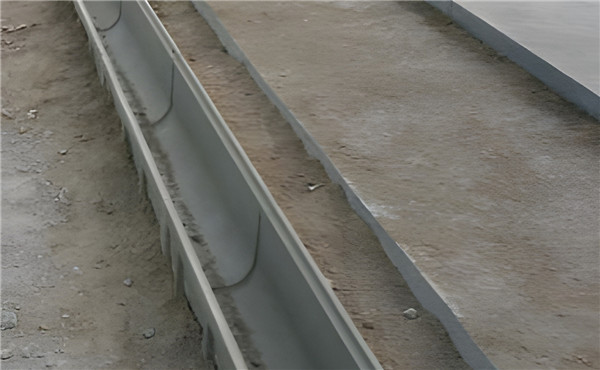
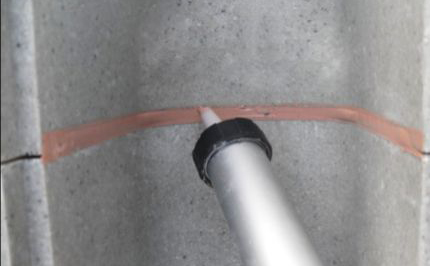
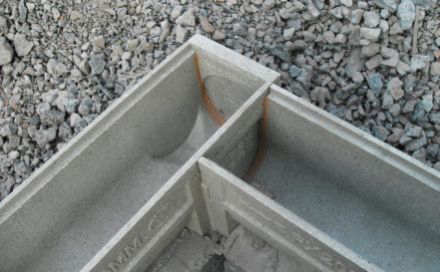
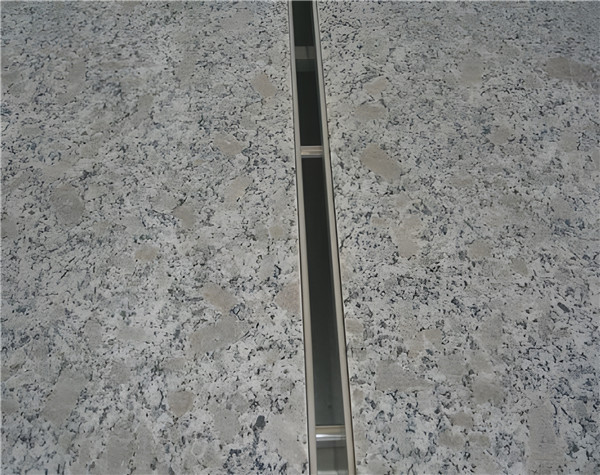
Determine the center line, pull line, mark, and install. Because the concrete poured at the bottom of the base trough has been solidified, you need to prepare some concrete with good dry humidity and put it under the bottom of the drainage channel, which can make the bottom of the channel body and the concrete on the trough ground seamlessly connect. Then, clean the tenon and mortise grooves on the drainage channel, butt them together, and apply structural glue to the joints of the tenon and mortise grooves to ensure no leakage.
Installation of sump pits and inspection ports
Sump pits are very important in the use of drainage channel system, and their use is very wide.
1. When the water channel is too long, install a sump pit in the middle section to directly connect the municipal drainage pipe,
2. A sump pit is installed every 10-20 meters, and a check port that can be opened is installed on the sump pit. When the drain is blocked, the inspection port can be opened for dredging.
3. Put a stainless steel basket in the sump pit, lift the basket at a fixed time to clean up the garbage, and keep the trench clean.
V. Place the drain cover
Before installing the drain cover, the garbage in the drainage channel must be cleaned up. In order to prevent the polymer concrete drainage channel from being squeezed on the side of the wall after concrete pouring, the drain cover should be placed first to support the drainage channel body. In this way, it is avoided that the drain cover cannot be installed after being pressed or affects the appearance.
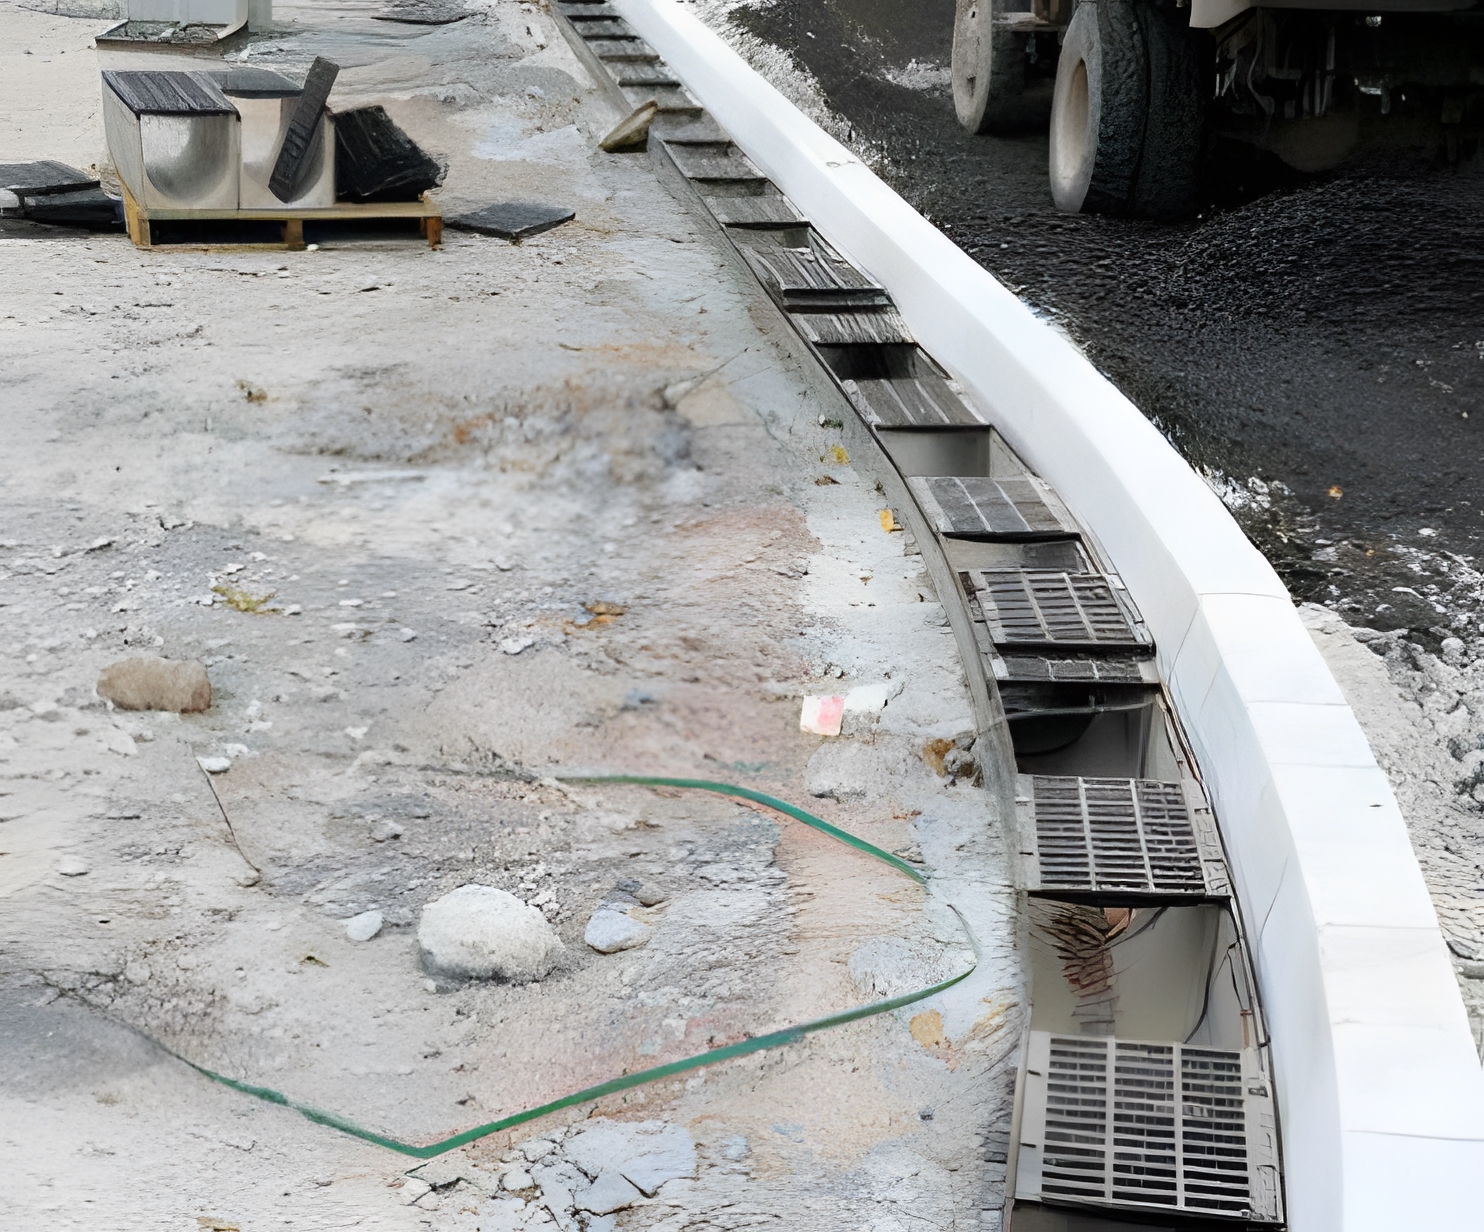
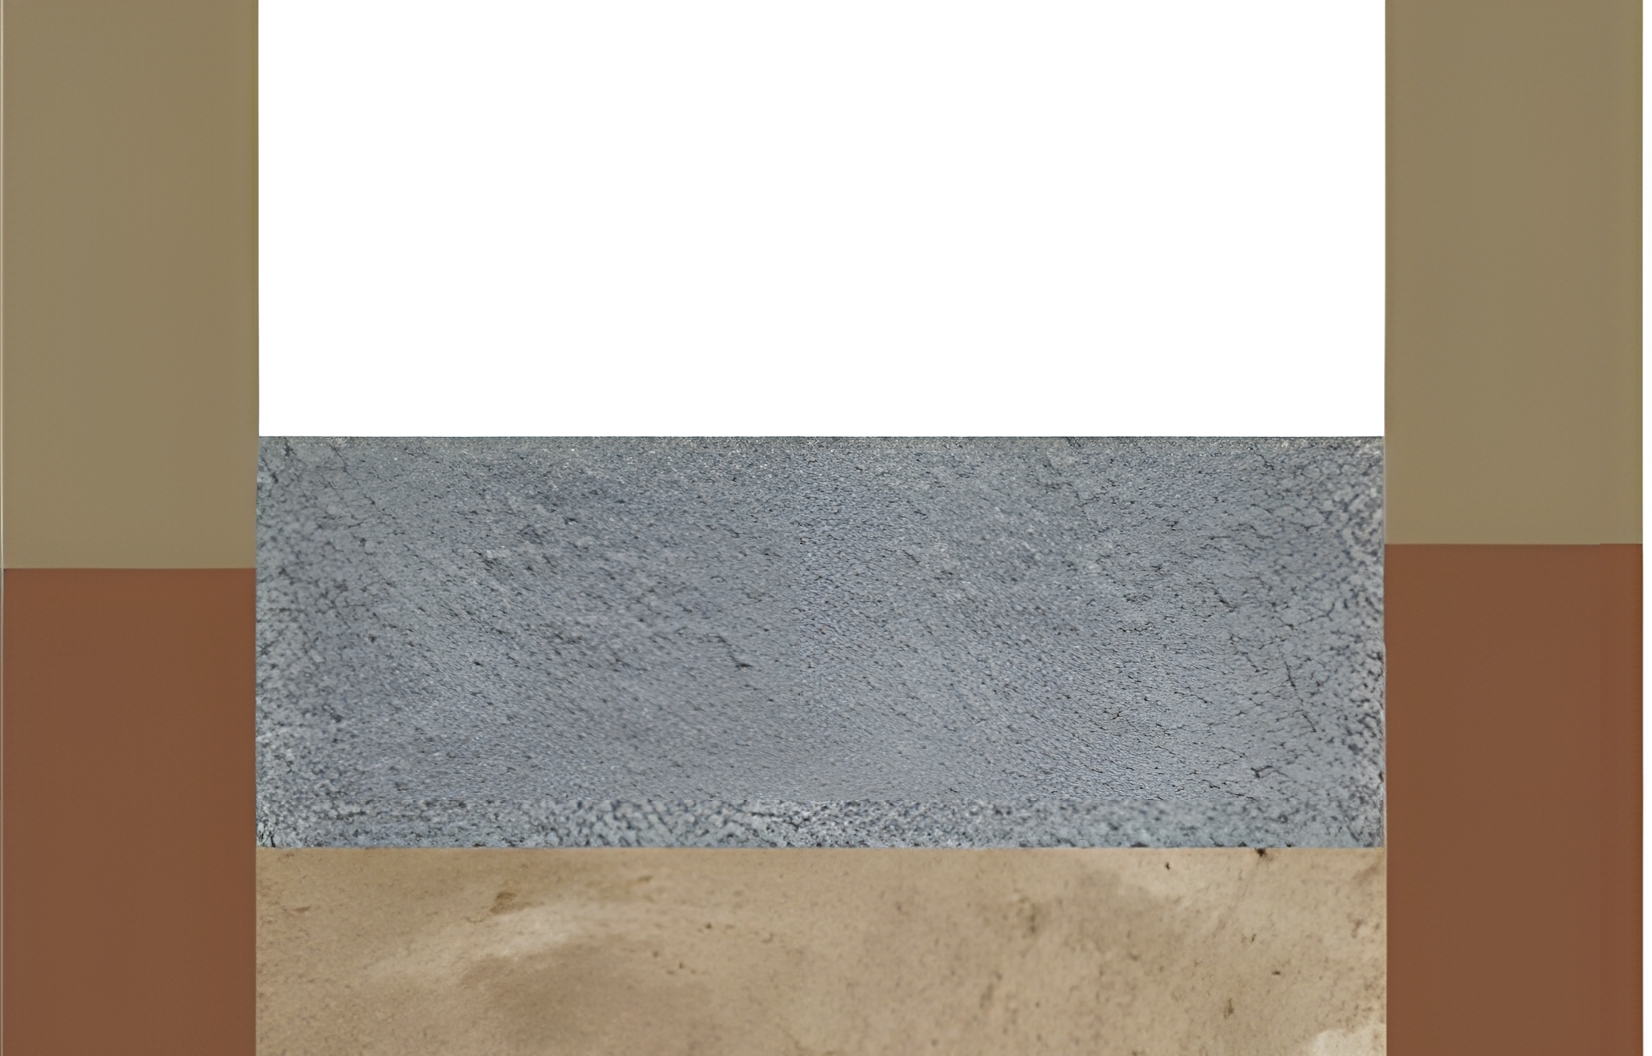
Pouring concrete on both sides of the drainage channel
When pouring the concrete on both sides of the channel, protect the drain cover first to prevent the cement residue from blocking the covers’ drain hole or falling into the drainage channel. Reinforcement mesh can be placed on both sides of channels according to the bearing capacity and poured the concrete into to ensure its strength. The pouring height cannot exceed the height set previously.
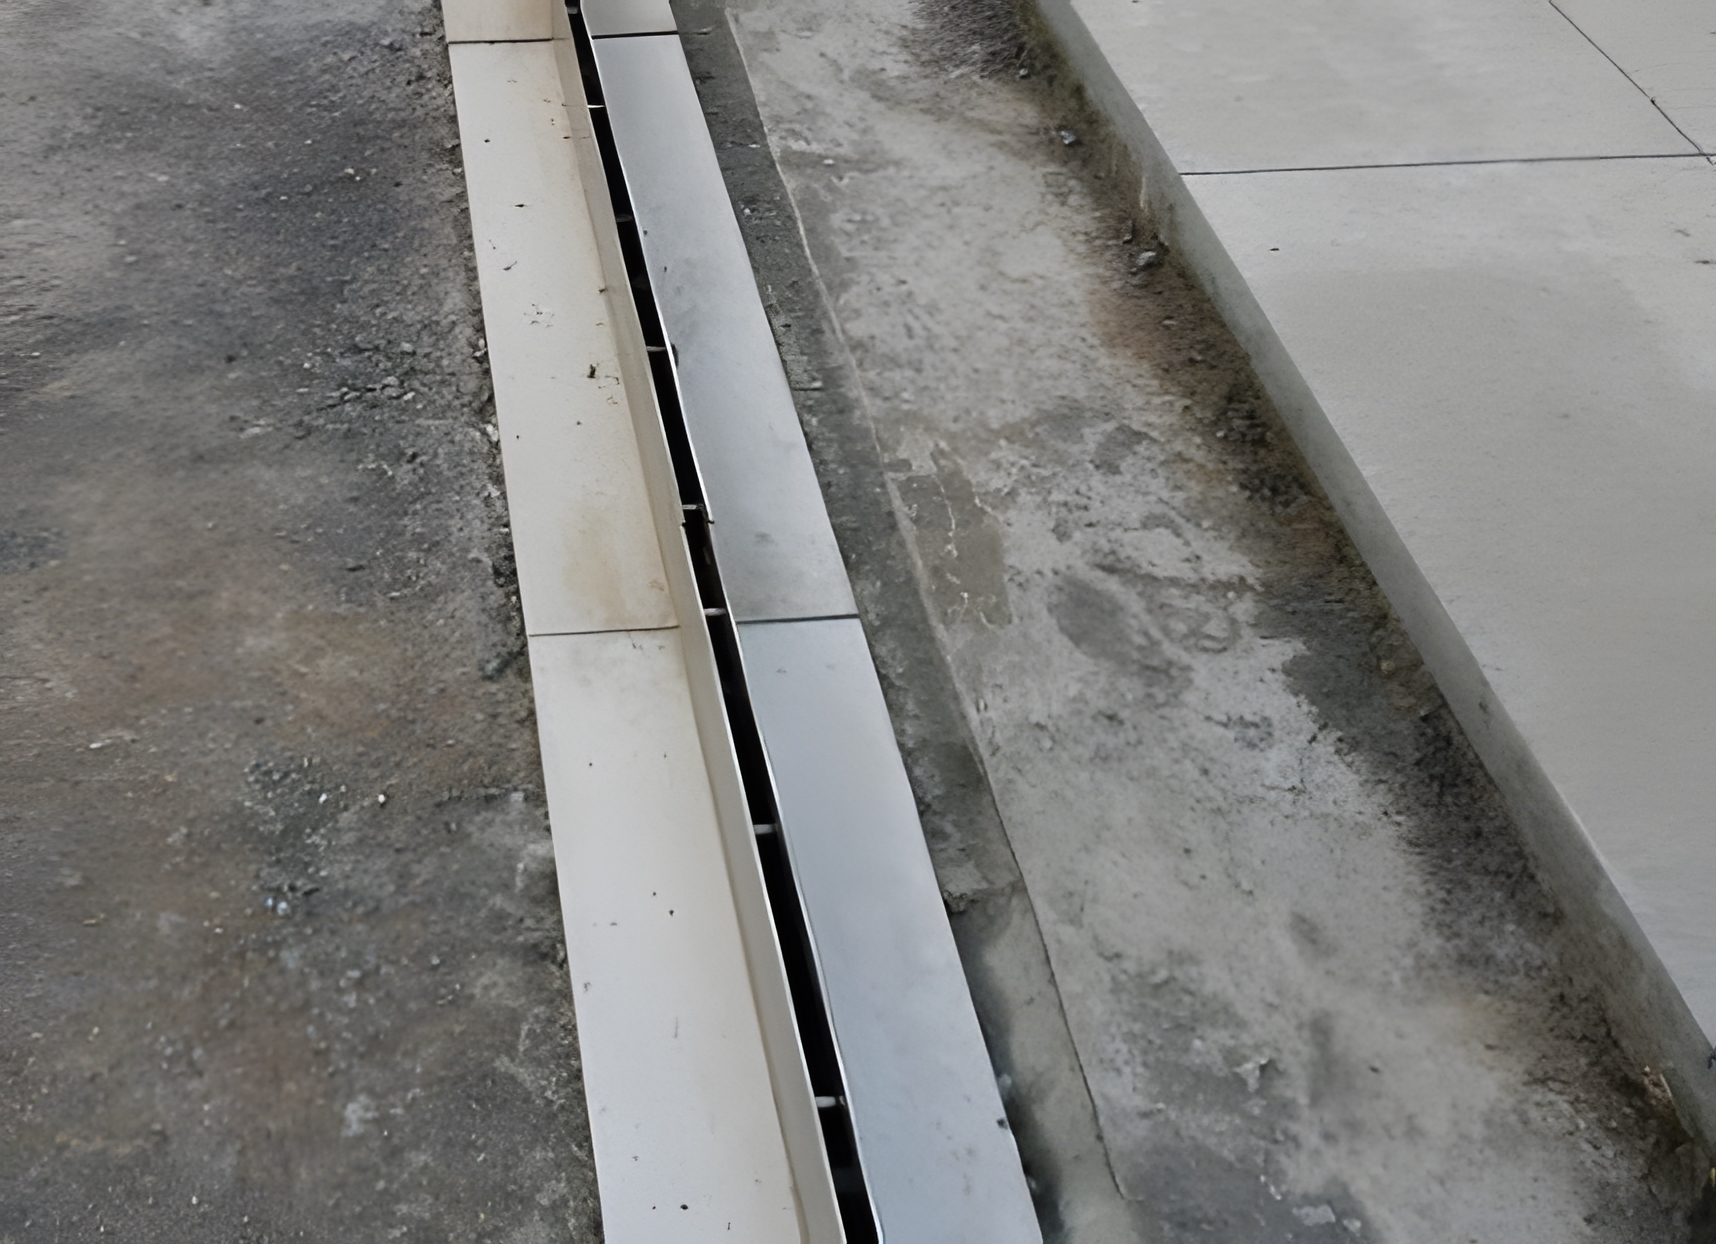
Pavement
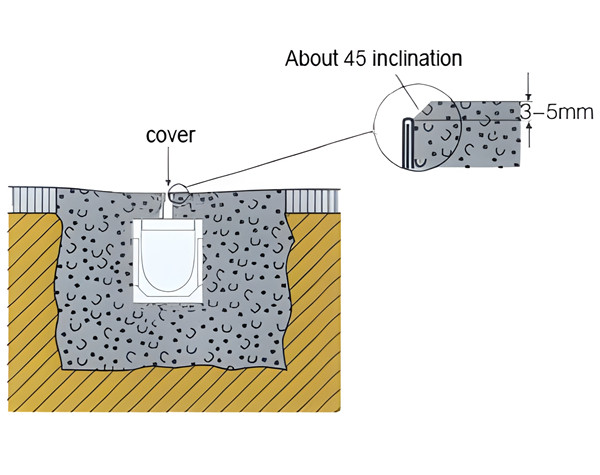
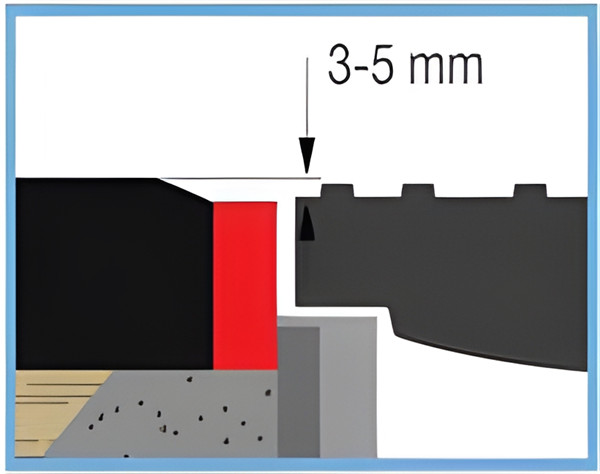
Whether we need to make pavement depends on the environment we use. If necessary to pave, we should pay attention to the fact that the paved stones are slightly higher than the drain outlet by 2-3mm. There must be enough thickness of cement mortar under the paved surface to prevent loosening. It must be neat and close to the drain, so as to ensure the overall quality and aesthetic appearance.
Check and clean drainage channel system
After the drainage channel system is installed, a comprehensive inspection must be carried out to check whether there is residue in the drainage ditch, whether the manhole cover is easy to open, whether there is clogging in the collection well, whether the cover plate fastened by screws is loose, and the drainage system can be put into use after everything is normal.
Maintenance and management of channel drainage system
Check item:
1. Check whether the cover screws are loose and the cover is not damaged.
2. Open the inspection port, clean the dirt basket of the sump pits, and check whether the water outlet is smooth.
3. Clean up the garbage in the drainage channel and check whether the drain channel is blocked, deformed, subsidenced, broken, disconnected, etc.
4. Clean the drainage channel. If there is sludge in the channel, use a high-pressure water gun to flush it. Discharge the sludge in the upstream drainage channel system into the downstream sump pit, and then transport it away with a suction truck.
5. Repair all damaged areas and inspect at least twice a year to keep the waterway open.
Post time: Mar-07-2023